Clear DNS Cache
Microsoft Windows
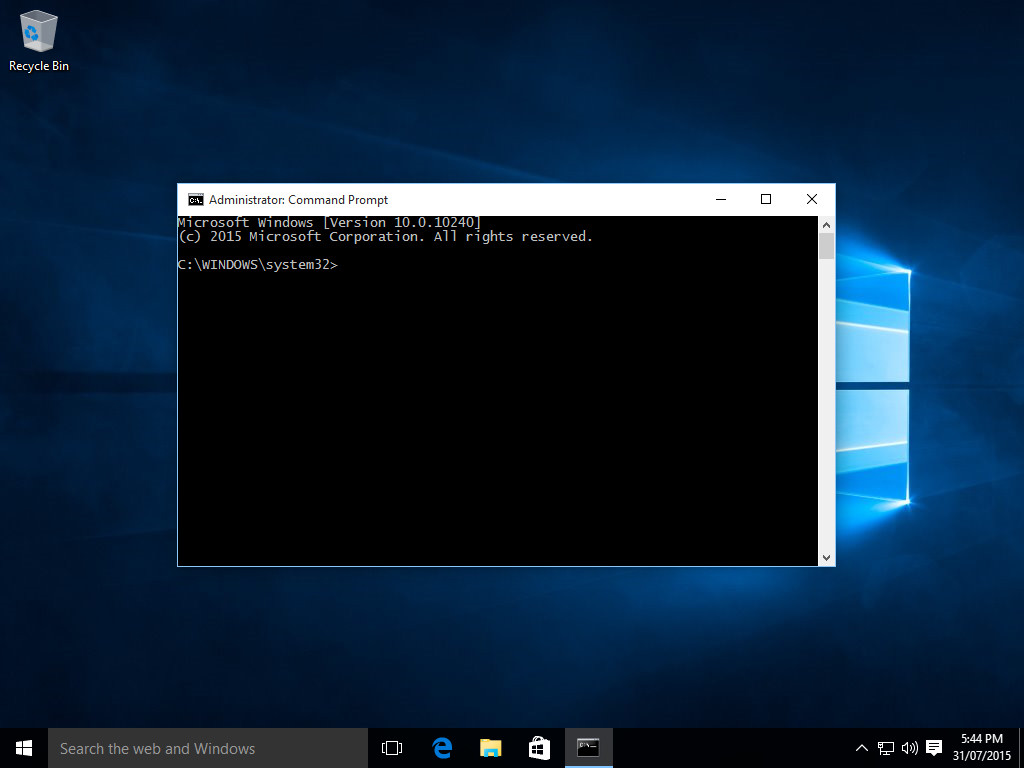
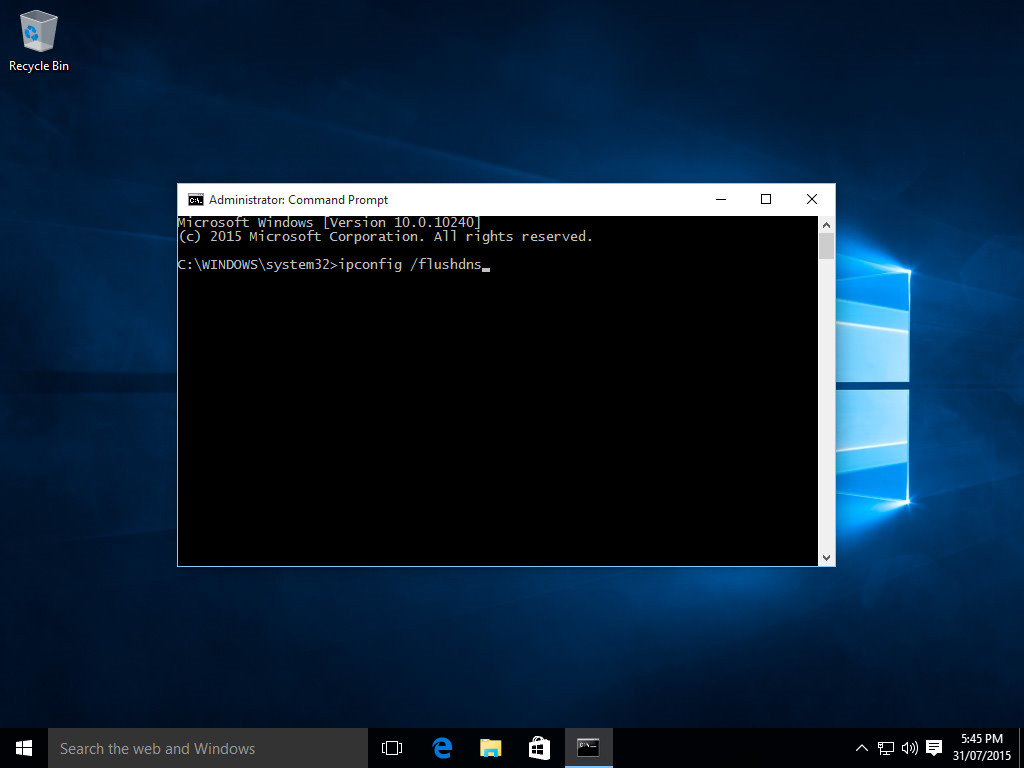
Windows 10
Flushing the DNS cache on Windows 10 is a very easy process. Due to system security permissions, you must ensure that you run the command prompt as an administrator user.
- Ensure that you're on the Windows 10 desktop.
- Right click on the start menu and choose
Command Prompt (Admin)from the menu. - Type in the command
ipconfig /flushdns


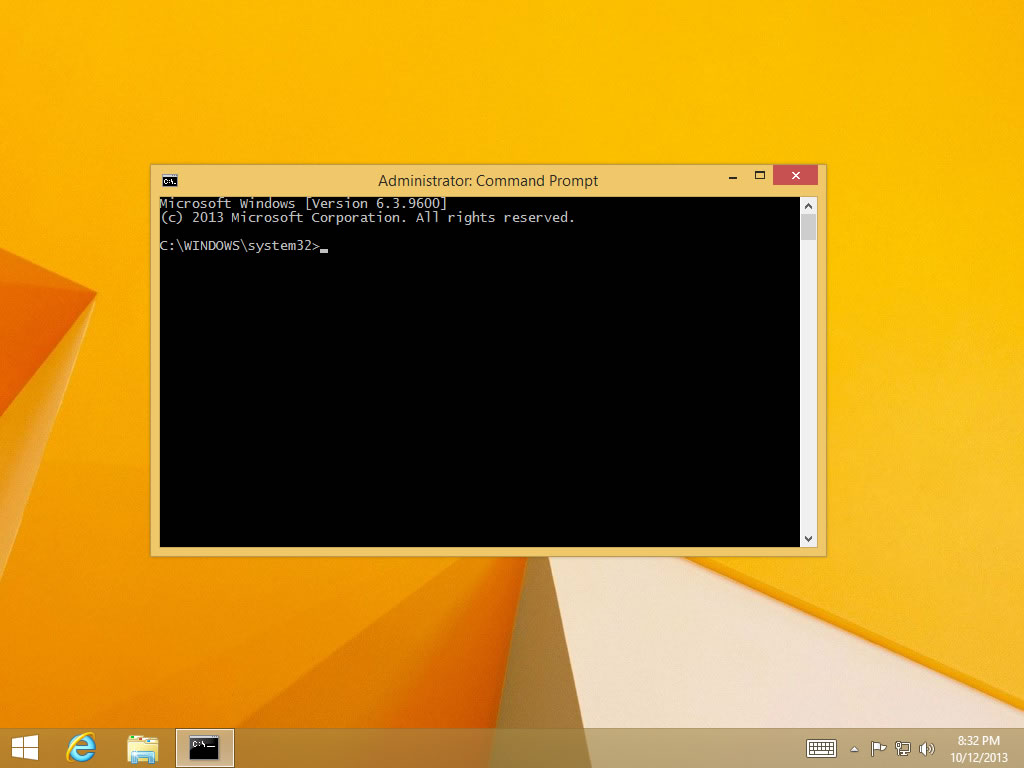
Windows 8 / Windows 8.1
Flushing the DNS cache on Windows 8 and Windows 8.1 is a very easy process. Due to system security permissions, you must ensure that you run the command prompt as an administrator user.
- Ensure that you're on the Windows 8 Start Screen.
- Simply type
cmdand the Windows search bar will appear on the right hand side with search results. - Right click on
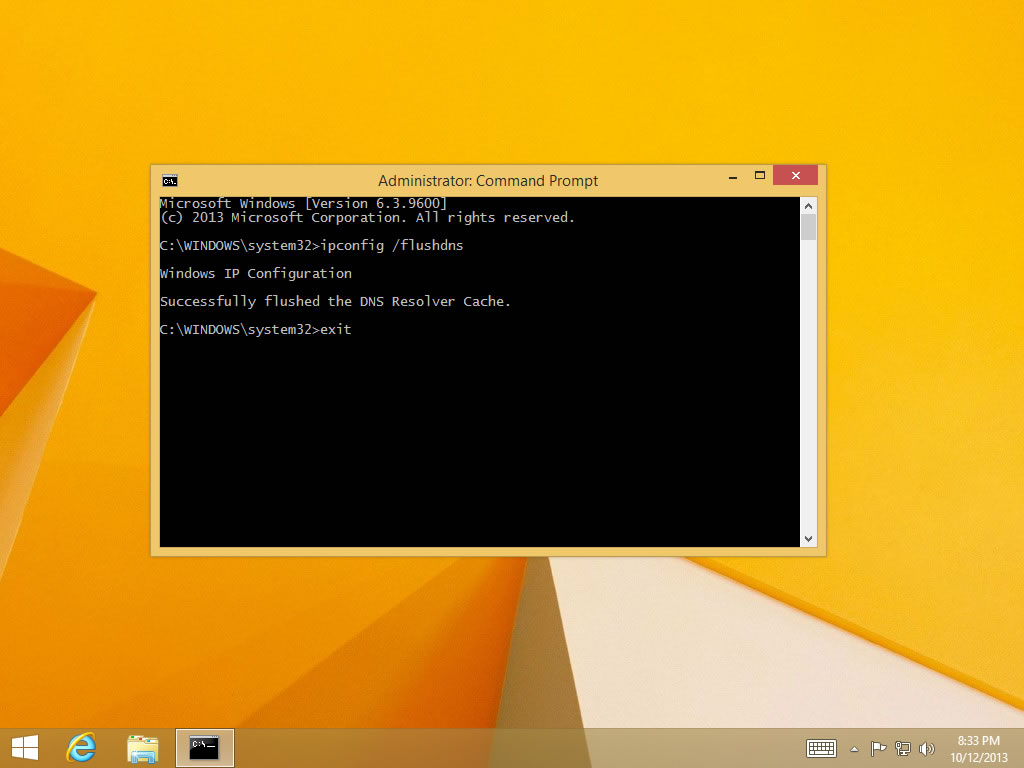
Command Promptand clickRun as administrator - Type in the command
ipconfig /flushdns


Windows Vista / Windows 7
Flushing DNS on newer versions of Windows is almost as easy as the earlier versions but due to Microsoft's security additions you must run the command prompt with administrator privileges.
- Click the start button and navigate to the command prompt (Start > All Programs > Accessories > Command Prompt)
- Make sure that you right click on the command prompt application and choose "Run as Administrator"
- Type in the command
ipconfig /flushdns


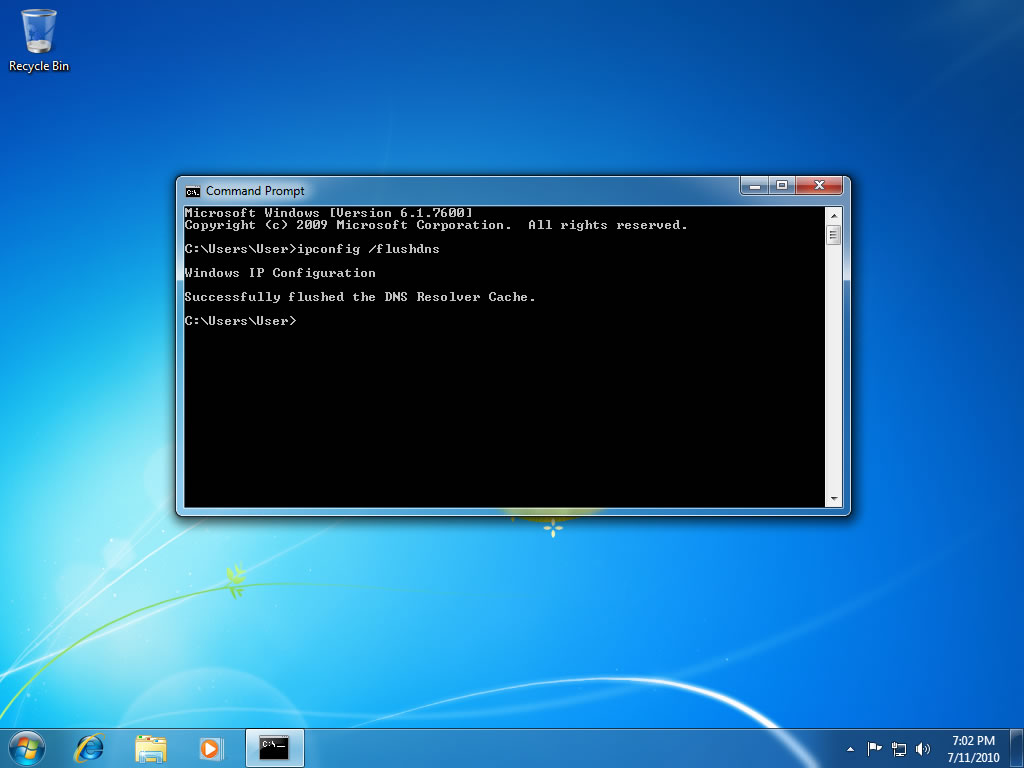

Note: It is also possible to type in cmd into the Windows Vista / Windows 7 start menu search field and then right click on the cmd.exe result instead of having to navigate through the various sub menus.
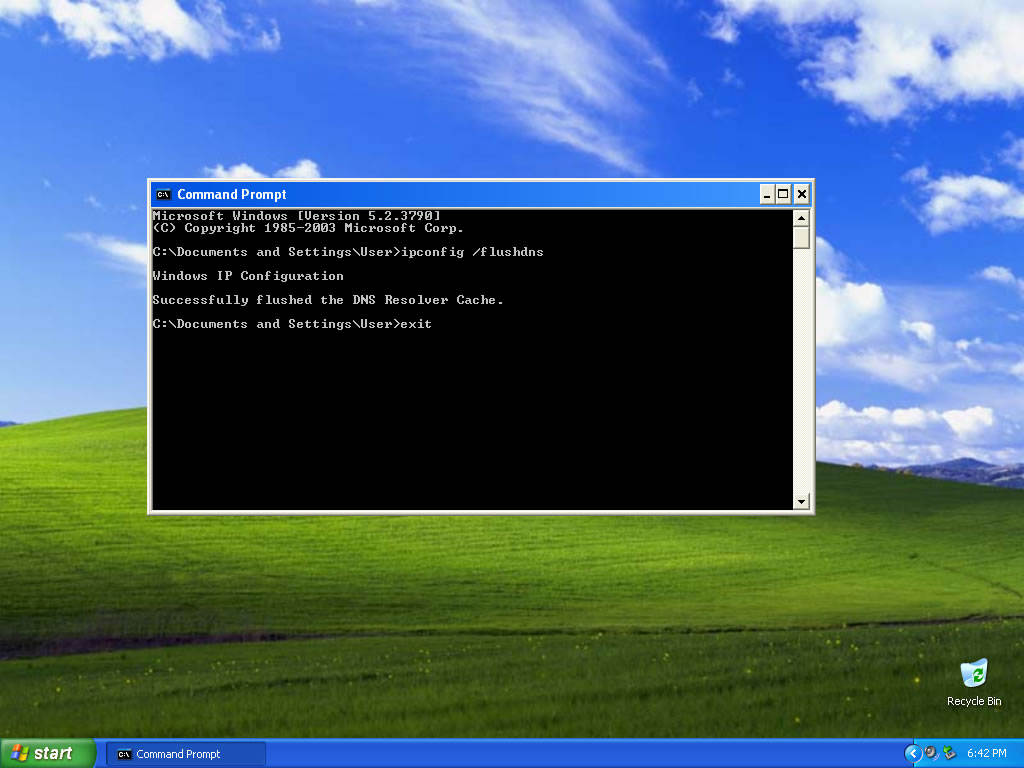
Windows 98/NT/2000/XP
Flushing the DNS on Windows is an easy process, outlined below is the steps that should be run if you wish to clear your DNS cache.
- Open up a command prompt (Start > Run >
cmd.exe> OK). - Type in the command
ipconfig /flushdns


Apple OS X
Flushing the DNS in Mac OS X is an easy process, but the steps taken will depend on which version of OS X you are running.
Mac OS X El Capitan
If you are running Mac OS X 10.11, you need to follow the below steps:
- Open up the command terminal.
- Run the command
sudo killall -HUP mDNSResponder
Mac OS X Yosemite
If you are running Mac OS X 10.10, you need to follow the below steps:
- Open up the command terminal.
- Run the command
sudo discoveryutil udnsflushcaches
Mac OS X Mavericks
If you are running Mac OS X 10.9, you need to follow the below steps:
- Open up the command terminal.
- Run the command
sudo killall -HUP mDNSResponder
Mac OS X Mountain Lion
If you are running Mac OS X 10.8, you need to follow the below steps:
- Open up the command terminal.
- Run the command
sudo killall -HUP mDNSResponder
Mac OS X Lion
If you are running Mac OS X 10.7, you need to follow the below steps:
- Open up the command terminal.
- Run the command
sudo killall -HUP mDNSResponder
Mac OS X Snow Leopard
If you are running Mac OS X 10.6, you need to follow the below steps:
- Open up a command terminal.
- Run the command
sudo dscacheutil -flushcache
Mac OS X Leopard and below
If you are running Mac OS X 10.5.1 or below, you need to follow the below steps:
- Open a command terminal.
- Run the command
sudo lookupd -flushcache
Other Operating Systems
Linux
If you are running the nscd Name Service Cache Daemon and wish to flush your DNS cache, then you will need to do the following.
- Open up a command terminal (either as root or run step 2 with
sudo). - Run the command
/etc/init.d/nscd restart
Related Articles
Changing your DNS servers on Windows 10
1. Right click the Start menu, then select 'Network Connections'. 2. Right click on the network connection you're using and select 'Properties'. 3. Highlight 'Internet Protocol Version 4 (TCP/IPv4)' and click Properties. 4. Click the radio ...Setting Custom DNS Entries in H-Sphere
To create a custom record to your DNS zone, do the following: 1. Select Domain info in the Domain Settings menu. 2. On the page that appears, click the Edit icon in the DNS Configuration field: 3. This link will take you to the DNS Configuration ...Setting Custom DNS Entries in H-Sphere
To create a custom record to your DNS zone, do the following: 1. Select Domain info in the Domain Settings menu. 2. On the page that appears, click the Edit icon in the DNS Configuration field: 3. This link will take you to the DNS Configuration ...Location for cPanel Shared DNS accounts
ca-ns2.cpanel-dns.com us-ns1.cpanel-dns.com.Clear Cached Memory On Linux Without Reboot
If a Linux server appears to have inodes or dentries filling up cached memory, here is how you can flush it without putting the server through a reboot. This will only work with linux kernels equal to or greater then version 2.6.16+ which was ...